
REVIEW · PHOTOGRAPHY SESSIONS
See Shoot Share | Photo Tour
Amsterdam looks better through your lens.
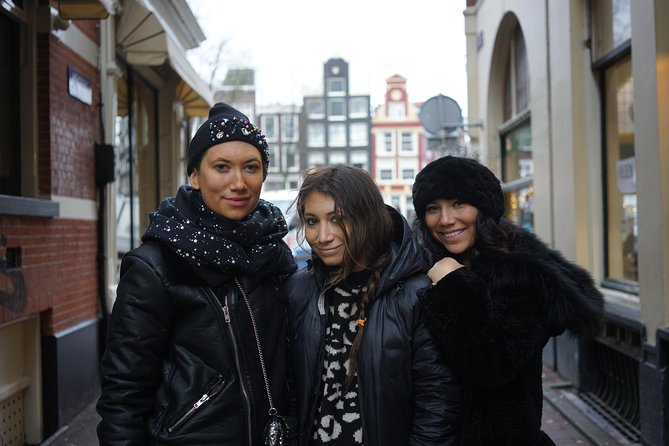
This private photo tour is built for real-world shooting, with a pro guide and a plan that moves you through three classic areas: the Negen Straatjes, the canal ring, and the Jordaan. I especially like that you learn practical smartphone camera basics, not just where to stand, plus you get a professional portrait at a location you choose.
One thing to consider: you’ll be on your feet for about 1.5 to 2 hours, and there’s no food or drinks included, so plan for comfort and hydration.
In This Review
- Key highlights
- Why This 90-Minute Amsterdam Photo Tour Feels Worth It
- Meeting at Dam 13 and How to Prepare
- Negen Straatjes: The Nine Little Streets for Fast, Photogenic Wins
- Amsterdam Canal Ring: Turning Pretty Water Into Strong Photos
- The Jordaan District: Shooting Real Amsterdam, Not Just Postcards
- Your Included Professional Portrait, Plus Choosing Your Own Location
- The Portrait Options: Quick Shot, Take Two, and Slo Mo
- What You Actually Learn: Phone Photography That Shows in Your Results
- Short, Private, and Practical: How the Group Format Changes Everything
- Price and Value: Why $66.09 Can Make Sense in Amsterdam
- Who Should Book This Photo Tour
- Should You Book? My Straight Answer
- FAQ
- How long is the See Shoot Share Photo Tour in Amsterdam?
- Is this tour private?
- What language is the tour offered in?
- Where do we meet, and where does it end?
- What’s included in the photo offer?
- Is food or drinks included?
- Can I get a full refund if I cancel?
Key highlights
Private, only your group with a guide who can adjust pace and targets to you
Phone-friendly photo coaching focused on light, composition, symmetry, and lines
Negen Straatjes for easy photo hunting in the Nine Little Streets area
Canal Ring skills for better framing so your canal shots look intentional
Jordaan’s quieter mood for photos that feel more local
A pro portrait included, with different package options (Quick Shot, Take Two, Slo Mo)
More Amsterdam bookings built around the camera
- Amsterdam: Private Photoshoot for Couple, Family, or Solo★ 4.9 · 251 reviews
- Amsterdam Canal, Tulip, Windmill Photoshoot | Custom Request★ 5.0 · 147 reviews
- Amsterdam: Foam Photography Museum Admission Ticket★ 4.2 · 141 reviews
- Amsterdam Photography Masterclass – Private Photography Lesson★ 5.0 · 32 reviews
Why This 90-Minute Amsterdam Photo Tour Feels Worth It
Amsterdam can be overwhelming with a camera. Too many canals, too many bicycles, too many angles that all look good. What I like about this tour concept is the time box. You get structured shooting practice across multiple neighborhoods without burning your whole day.
You also get a guide who talks photography in plain terms. That matters, because most people already have a phone camera. The gap is usually technique: how to control light, how to compose lines and symmetry, and how to avoid the common look of “pretty, but random.”
The price is also easier to judge when you know what’s included. You’re not just paying for walking. You’re paying for guided shooting plus a professional portrait delivered from your chosen spot.
Meeting at Dam 13 and How to Prepare
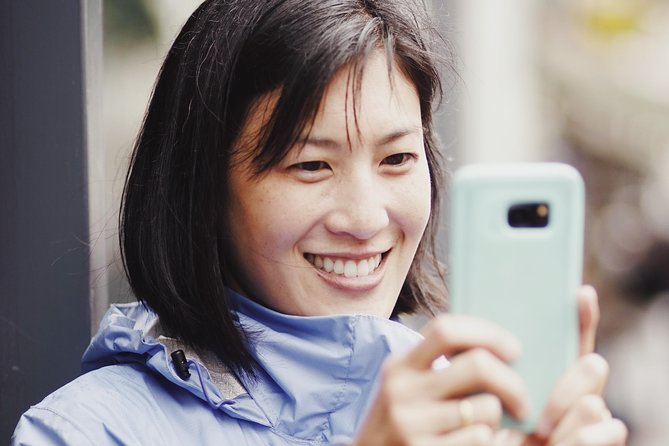
You start at Dam 13, 1012 JS Amsterdam, and the tour ends back near the meeting point. That simple start matters in a city where transfers can eat time.
Come wearing comfortable shoes. The tour is short, but the streets in this area are the kind where you’ll want stable footing. Also, because you’re shooting, you’ll probably stop more than once to frame and retake, so shoes that don’t punish your feet are a real upgrade.
One more practical note: the tour is offered in English, and it’s near public transportation. That makes it easier to plug into a day that’s already planned around museums, canal cruises, or cycling routes.
Negen Straatjes: The Nine Little Streets for Fast, Photogenic Wins
You’ll begin in 9 Little Streets (Negen Straatjes), one of the most camera-friendly areas in the center. The big advantage here is density. You don’t have to “find” a good scene. The streets themselves give you repeated opportunities: storefronts, textures, and angles that naturally lead your eye.
In this stop, the focus is on learning how to capture the area well, not just pointing your phone at whatever looks pretty. You’re getting coached on how to compose so the photo reads clearly. That’s the difference between a snapshot and an image that feels designed.
What to expect while you’re shooting
You’ll likely spend time walking, stopping, and trying different angles so you can compare what works. This is a great first stop because it builds momentum early, and it sets you up with skills you’ll use again on the canals.
Potential drawback
If you prefer huge scenic vistas over close-up street scenes, this can feel “small” at times. It’s a streets-and-details neighborhood. If that’s not your style, keep your expectations focused on street photography and charming architecture lines.
Amsterdam Canal Ring: Turning Pretty Water Into Strong Photos
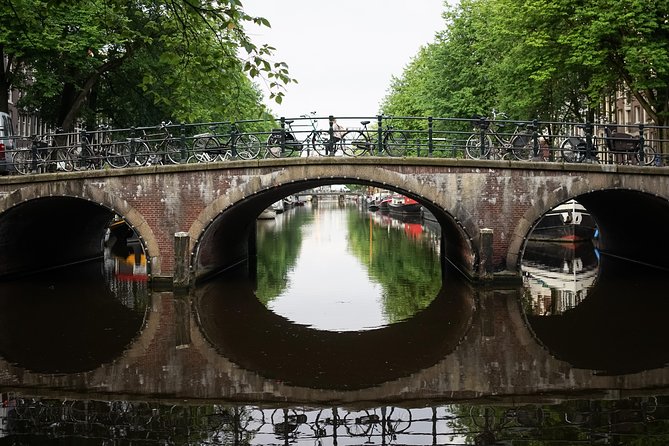
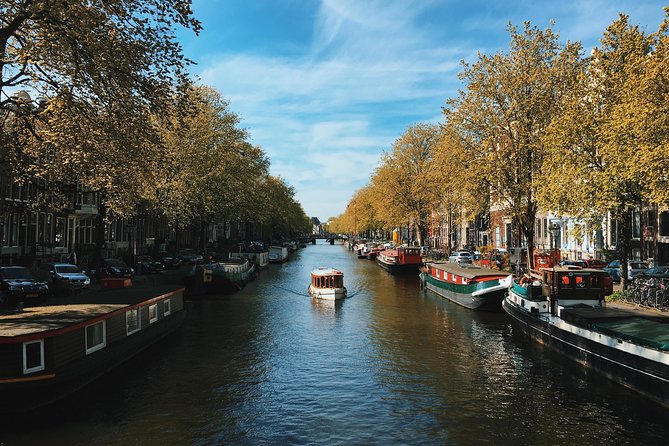
Then you shift to the Amsterdam Canal Ring, where the temptation is to do the easy thing, point-and-shoot from the closest bridge. The tour tackles the key question you’ve probably asked yourself: how do you photograph canals so they look sharp, balanced, and not like every other canal photo?
This stop is built around smartphone technique. You’ll learn how to use light, composition, symmetry, and lines. Those words matter because they’re the tools behind “this looks good” photos.
Here’s how that usually plays out in real shooting:
- Light helps you avoid flat, gray reflections or blown highlights. Even a small change in position can change the look of the water.
- Composition is what makes the photo feel intentional. Instead of a canal that runs everywhere, it runs somewhere in your frame.
- Symmetry can turn an ordinary shot into something graphic. When buildings, railings, or bridge lines repeat, symmetry is your friend.
- Lines guide the eye. Think of canal edges, bridge rails, or the way streets lead toward the water.
If you’ve ever wondered why your canal photos look fine on your screen but feel less impressive in real life, this coaching is exactly where the missing step lives.
Possible drawback
Canal ring photos can be sensitive to weather and crowd movement. If it’s busy, you may wait a moment for an angle to clear, or you’ll take a shot from a less perfect spot and then work it. The good news is you’ll have guidance for finding workable composition quickly.

The Jordaan District: Shooting Real Amsterdam, Not Just Postcards
Next is The Jordaan, described as what locals call real Amsterdam. That’s not a guarantee you’ll never see tourists, but the vibe is typically quieter, more lived-in, and more about neighborhood mood than “major landmark mode.”
For photography, this is where your images start to differentiate. Early stops teach you how to capture scenes. This stop helps you capture the feeling.
What you’re doing here is walking with the local-style pace of the district. You’re looking for quiet beauty, and your guide helps you translate that into photos that don’t feel like the same wide-angle picture everyone takes.
What makes it useful
A lot of visitors get three sets of photos that all look similar: canals, canals, and more canals. The Jordaan gives you another texture: street mood, smaller spaces, and a sense of everyday Amsterdam life. That variation is what makes your photo set feel like a story.
Potential drawback
If you’re chasing the most iconic Amsterdam postcard views, you might find fewer “wow instantly” shots here. But if you want images that feel personal and closer to daily life, this stop is a strong fit.
Your Included Professional Portrait, Plus Choosing Your Own Location
One of the best parts of the tour offer is simple: you get a professional photo of you in a location of your choice. That’s a big deal for travelers because it solves a common problem.
You want photos of yourself, but you also want them to look like they belong in your album, not like someone grabbed your phone in a hurry. A guided portrait helps you get better angles, better framing, and better timing around the light.
Since the tour is private, you can tell your guide where you want to go for that portrait. That flexibility is valuable. Maybe you want a specific canal corner. Maybe you want to highlight a street vibe you love. Maybe you want a spot that matches the photos you already took earlier in the day.
Just remember: the more specific you are about what you want the photo to feel like, the easier it is for your guide to steer you toward a good location.
The Portrait Options: Quick Shot, Take Two, and Slo Mo
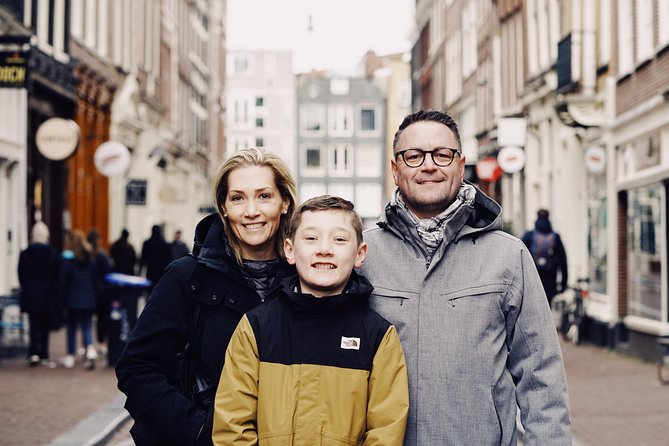
The tour includes a portrait package, and the exact number of finished portraits depends on the option you choose:
- Quick Shot Tour: an exclusive portrait
- Take Two Tour: 3 portraits
- Slo Mo Tour: 5 portraits
This is a clever setup because it matches different travel styles. If you just want a clean, single “I was here” image, Quick Shot makes sense. If you want variety, Take Two lets you choose from multiple looks. If you’re serious about getting a final album-worthy set and don’t mind spending more time getting the best options, Slo Mo is the way to go.
No matter which you pick, you’re still getting the benefit of walking and shooting in the surrounding areas. The portrait isn’t an afterthought. It’s part of the overall photo journey.
What You Actually Learn: Phone Photography That Shows in Your Results
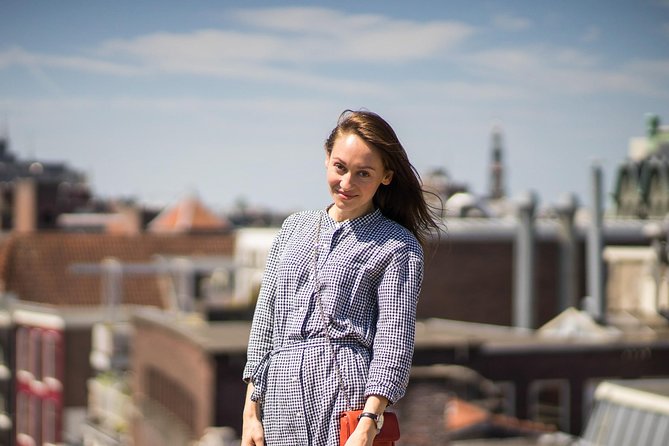
The coaching points aren’t abstract. You’ll practice and apply techniques as you walk. The tour explicitly focuses on how to photograph with your phone, and it calls out the building blocks that matter most for better shots:
Light
Light is what makes photos feel dimensional. You’ll be encouraged to think about where the light hits your subject or how it affects reflections on the canal water.
Composition and framing
Instead of shooting everything, you learn how to arrange what stays in frame and what gets left out.
Symmetry
Amsterdam offers lots of repeating lines and building reflections. Symmetry helps you turn those patterns into crisp photos.
Lines
Lines are the invisible structure of your image. They lead the eye. They help your photo feel like it has a plan.
If your current phone photos look “okay” but not “wow,” this approach targets the gap. You don’t need a new camera. You need a repeatable method.
Short, Private, and Practical: How the Group Format Changes Everything
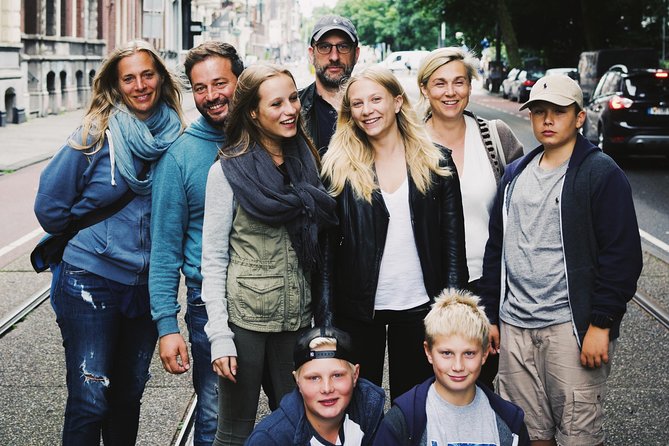
This is a private tour, meaning only your group participates. That matters more than people expect. In a city full of crowded photo walks, group tours often move too fast or they settle on whatever angle fits the whole herd.
With a private format, you can slow down for a better shot or skip a spot if it’s not working. You also have a chance to ask questions that fit your camera habits and your comfort level.
And because the tour is offered in English, you can get clear guidance without translating in your head while you’re trying to frame a photo.
Price and Value: Why $66.09 Can Make Sense in Amsterdam
Let’s talk value without hand-waving.
$66.09 per person is not a free activity, and Amsterdam can be expensive. So you should ask: what are you buying?
You’re buying:
- a guided photo walk through three distinct areas
- structured phone photography coaching
- a professional portrait (with options for 1, 3, or 5 portraits)
- admission tickets listed as free for each stop area
You’re also buying time efficiency. Instead of trying to learn photography techniques from YouTube in the middle of your vacation, you get a guide to help you apply them right there. That’s why the 1.5 to 2 hour duration works. It’s short enough to fit into a normal day, yet long enough to practice and get results you can actually use.
If you’d normally spend half a day wandering without a plan, this turns “walking around” into “walking around with purpose.”
Who Should Book This Photo Tour
This experience is a great fit if:
- you want better results from your phone camera
- you like Amsterdam street scenes and canal views
- you want photos of yourself without chasing a stranger with a tripod
- you prefer a private format that adapts to your pace
It’s also a good match if you’re the group member who always ends up taking photos for everyone else. This tour gives you a plan to make sure you’re in the picture too.
Should You Book? My Straight Answer
Book it if you want a structured way to improve your phone photos, and you care about getting a polished portrait at the end. The tour is short, private, and focused on practical skills like light, composition, symmetry, and lines. That combination usually turns into photos you’ll actually keep.
Skip it if you only want to sightsee and you’re not interested in improving your photography. In that case, you might prefer something less instruction-based. Also, if standing and walking for about 2 hours is tough for you, you should weigh comfort before committing.
FAQ
How long is the See Shoot Share Photo Tour in Amsterdam?
It runs about 1 hour 30 minutes to 2 hours.
Is this tour private?
Yes. It’s a private tour, and only your group participates.
What language is the tour offered in?
The tour is offered in English.
Where do we meet, and where does it end?
You meet at Dam 13, 1012 JS Amsterdam, Netherlands. The activity ends back at the meeting point.
What’s included in the photo offer?
A professional portrait is included, with different options: Quick Shot includes 1 exclusive portrait, Take Two includes 3 portraits, and Slo Mo includes 5 portraits.
Is food or drinks included?
No. No food or drinks are included.
Can I get a full refund if I cancel?
Yes, free cancellation is available. You can cancel up to 24 hours in advance for a full refund. If you cancel less than 24 hours before the start time, it is not refunded.
Bookings Where the Camera Comes First
Everything Else From Our Amsterdam Notebook


Also Reviewed Around Amsterdam



Fresh off the review pile in Amsterdam
- Full-Day Trip From Amsterdam to Keukenhof, Zaanse Schans + Cruise
★ 5.0 · 3 reviews - Boutique Dutch Food & History Tour with up to 8 guests only
★ 5.0 · 3 reviews - Private Tour to Windmills Zaanse Schans +Keukenhof – 7 Hours
★ 5.0 · 3 reviews - Full-Day Private Guided Countryside Tour from Amsterdam by Bike
★ 5.0 · 3 reviews - Amsterdam Red Light District and Old Town Walking Tour
★ 5.0 · 3 reviews
Photography Sessions, compared.
 ★ 4.9Amsterdam: Private Photoshoot for Couple, Family, or SoloFrom $60251 reviews
 ★ 5.0Amsterdam Canal, Tulip, Windmill Photoshoot | Custom RequestFrom $70147 reviews
 ★ 4.2Amsterdam: Foam Photography Museum Admission TicketFrom $9141 reviews
 ★ 5.0Vacation Photoshoot & Tour in AmsterdamFrom $59036 reviews
 ★ 4.5Taking Pictures in the Tulip Field at De TulperijFrom $1235 reviews
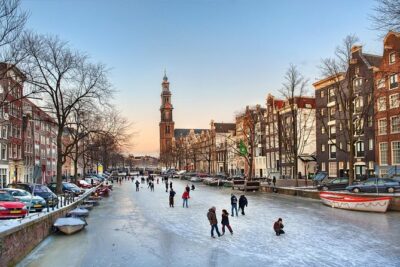 ★ 5.0Amsterdam Photography Masterclass – Private Photography LessonFrom $20432 reviews
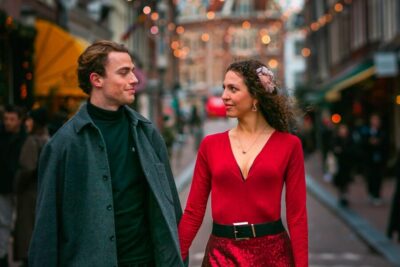 ★ 4.7Romantic Photoshoot Experience for Couples in AmsterdamFrom $6625 reviews
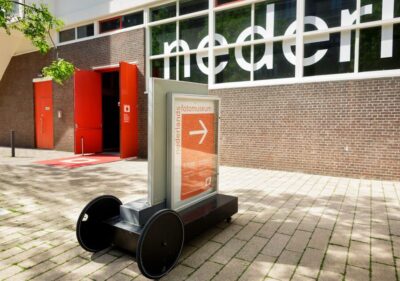 ★ 3.8Rotterdam: National Museum of Photography Entrance TicketFrom $1824 reviews
Browse the lists this tour appears in